I am pumped to have another Pinterest Challenge to link to….Thanks to
Sherry,
Katie,
Erin and
Ana.
My sister-in-law Dana gave me a light bulb a few weeks ago and wanted me to try making a terrarium using it. We had both seen a clip from CBS Sunday Morning on Terrarium's as well as tons of inspiration on Pinterest.
This light bulb came from Dana’s Husbands Motorcycle & ATV showroom
Cyclemax. It is a larger commercial bulb, but still a tiny home for plants.
I found my inspiration from two different pins Pinterest, one is a great video tutorial I’ve shared at the bottom of the post. You can see the other pin site below too. I tried to make a video of myself making this one for you guys but it was really awful… I had to pause many times and you could see my double chin so that sealed the deal of it not making the blog :)
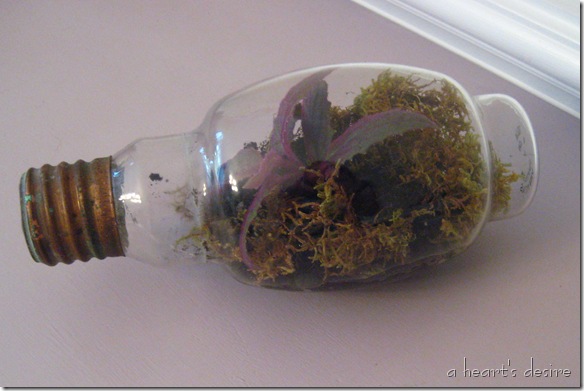
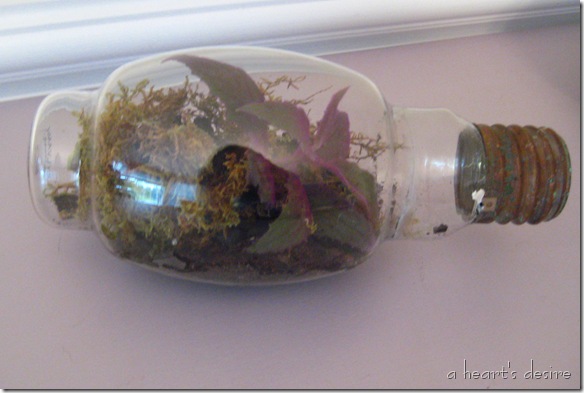
Here is Finished Product!!


Step 1….
Gather your materials

You will need:
Plants…teeny tiny ones
Soil
Charcoal
Rocks or Pebbles
Moss

Needle Nose Pliers
Screwdriver
Long Tweezers or Tongs

Container (my choice, a light bulb)
Step 2…
Break the ceramic end out of the light bulb using the pliers and the screwdriver


I had to break out an additional glass layer on the inside of this bulb.

Step 3…
I had to pull out the insides of this bulb and it was NOT easy. As you can see the inside was wider than the neck of the bulb and I thought I could squeeze it down with the tweezers.

But…I broke it!!! My one and only bulb!

But the insides came out easy :)

And luckily I had some super glue on hand.
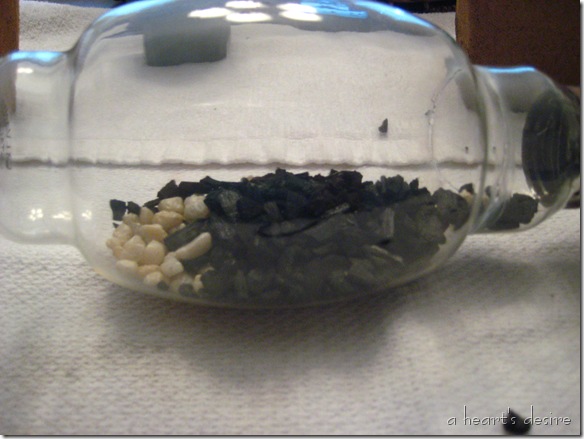
After that small hiccup I started layer my materials inside the bulb using the long tweezers and a small measuring spoon. Starting with pebbles, then charcoal, moss, soil, plant, and a little more moss.


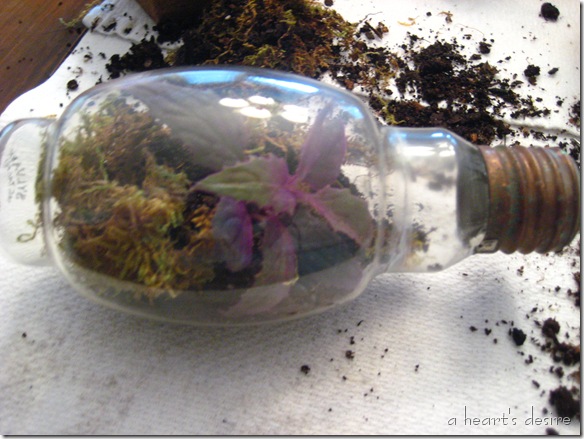
After the plant was added I put a little more soil and moss on top and it’s all done.
Click
Here to see the Video Tutorial I found through my Pinterest Pin
I also “Pinned” from
The Hipster Home –Check out this site for another cute light bulb Terrarium.
Hope you enjoyed!
Tip: The long tweezers came from PetCo pet store…they are actually called long tongs and are used to feed reptiles. I tried the craft stores first with no luck and found the helpful hint online about finding these at the pet stores.
Be sure to check out all the sites above to see all the Pinterest Challenges :)
April
Linked to:


 I really did try to stage this better. I just could not think of what to do! I honestly thought about getting out some Christmas decorations, but I just couldn’t do it…not yet.
  I distressed all of the edges and distressed the top bar on the back where you see the white poking through. Not sure if I love that white popping through the chalk paint but I do like the distressing on the white.
 Abbie says Hi!